切换场景
场景切换的原则是删除当前场景,切换新场景
1
2
3
4
|
SceneManager.LoadScene("scenename");
SceneManager.LoadSceneAsync("scenename")
|
DontDestroyOnLoad
切换新场景会自动卸载老场景,不过UI节点和主角并不需要删除,需要标记为DontDestroyOnload。
1
| GameObject.DontDestroyOnLoad(gameObject);
|
异步加载场景以及进度
Unity的某些主要异步方法都会返回AsyncOperation,它属于一种协程。 常见的异步方法:SceneManager.LoadSceneAsync, AssetBundle.LoadAssetAsync, Resources.LoadAsync.
Unity - Scripting API: AsyncOperation (unity3d.com)
首先,封装一下加载的管理器类:
1
2
3
4
5
6
7
8
9
10
11
12
13
14
15
16
17
18
19
20
21
22
23
24
25
26
27
28
29
30
31
32
33
34
35
36
37
38
39
40
41
42
43
44
| using System.Collections;
using System.Collections.Generic;
using UnityEngine;
using UnityEngine.Events;
using UnityEngine.SceneManagement;
public class SceneLoadManager : MonoBehaviour
{
static AsyncOperation m_AsyncOperation;
static UnityAction<float> m_Progress;
static public void LoadScene(string name,UnityAction<float> progress,UnityAction finish)
{
new GameObject("#SceneLoadManager#").AddComponent<SceneLoadManager>();
m_AsyncOperation = SceneManager.LoadSceneAsync(name, LoadSceneMode.Single);
m_Progress = progress;
m_AsyncOperation.completed += obj =>
{
finish();
m_AsyncOperation = null;
};
}
private void Update()
{
if(m_AsyncOperation != null)
{
if(m_Progress != null)
{
m_Progress(m_AsyncOperation.progress);
m_Progress = null;
}
}
}
}
|
最后,需要监听加载进度,并在加载结束的地方添加回调。拿到加载进度,就可以在UI上显示了
1
2
3
4
5
6
7
8
9
10
11
12
13
14
15
16
17
18
19
20
21
22
23
24
25
26
27
28
29
30
| using UnityEngine;
using UnityEngine.SceneManagement;
public class SceneLoadTest : MonoBehaviour
{
void Start()
{
GameObject[] InitGameObjects = GameObject.FindObjectsOfType<GameObject>();
foreach (GameObject go in InitGameObjects)
{
if(go.transform.parent == null)
{
GameObject.DontDestroyOnLoad(go.transform.root);
}
}
SceneLoadManager.LoadScene("New Scene",
progress =>
{
Debug.LogFormat("加载进度:{0}", progress);
},
() =>
{
Debug.Log("加载结束");
});
}
}
|
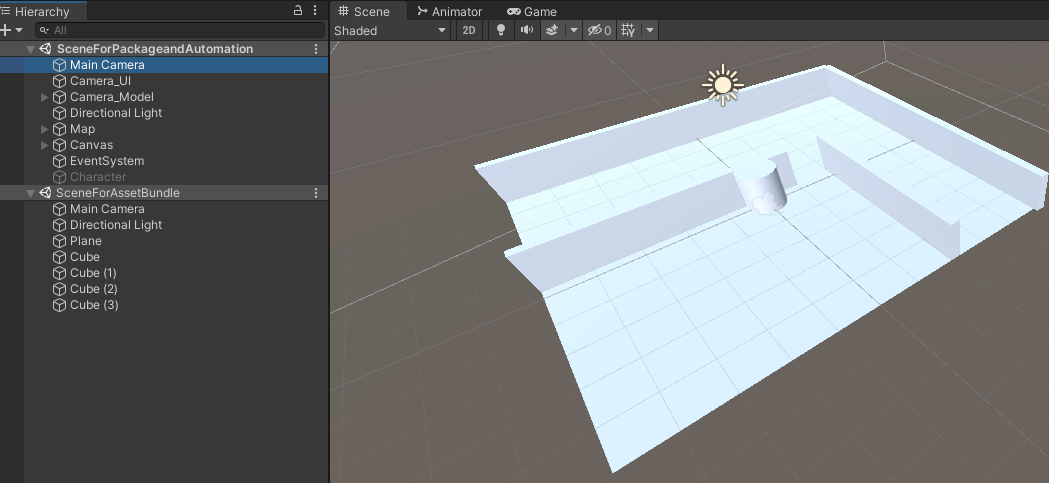
多场景
Unity支持多场景编辑,即可以把元素放在两个不同的场景中,这样就可以实现无缝拼接。可以把多个小场景拼接成一个非常庞大的场景,运行游戏时,可以动态打开以及卸载这些小场景。
在代码中加载或者卸载多场景时,需要注意加载和卸载都提供了异步接口,可以按照上节的方法来获取加载以及卸载的进度。
1
2
3
4
5
6
7
8
9
10
11
12
13
14
15
16
| using UnityEngine;
using UnityEngine.SceneManagement;
public class Script_13_12 : MonoBehaviour {
void OnGUI()
{
if (GUILayout.Button ("<size=50>加载多场景</size>")) {
SceneManager.LoadSceneAsync ("Scene 1", LoadSceneMode.Additive);
}
if (GUILayout.Button ("<size=50>卸载多场景</size>")) {
SceneManager.UnloadSceneAsync ("Scene 1");
}
}
}
|
多场景游戏对象管理
因为同时存在多场景,所以游戏对象就需要考虑到底实例化在哪个场景中,并且需要判断游戏对象属于哪个场景
1
2
3
4
5
6
7
8
9
10
11
12
13
14
15
16
17
18
19
20
21
22
23
24
25
26
27
28
| using UnityEngine;
using UnityEngine.SceneManagement;
public class GameObjectToMultipleScene : MonoBehaviour
{
private void Awake()
{
SceneManager.LoadScene("Scene 1", LoadSceneMode.Additive);
SceneManager.LoadScene("Scene 2", LoadSceneMode.Additive);
}
void Start()
{
Scene scene1 = SceneManager.GetSceneByName("Scene 1");
Scene scene2 = SceneManager.GetSceneByName("Scene 2");
GameObject g1 = new GameObject("g1");
GameObject g2 = new GameObject("g2");
SceneManager.MoveGameObjectToScene(g1, scene1);
SceneManager.MoveGameObjectToScene(g2, scene2);
Debug.LogFormat("{0} 属于Scene:{1}", g1.name, g1.scene.name);
Debug.LogFormat("{0} 属于Scene:{1}", g2.name, g2.scene.name);
}
}
|
场景切换事件
在多场景中,需要指定一个为激活场景,默认第一个为激活场景。如果添加新游戏对象时不指定场景,默认添加在激活场景中。
SceneManager中提供了activeSceneChanged、sceneLoaded、sceneUnloaded回调事件,我们可以在代码中监听这些事件
1
2
3
4
5
6
7
8
9
10
11
12
13
14
15
16
17
18
19
20
21
22
23
24
25
26
27
28
29
30
31
32
33
| using UnityEngine;
using UnityEngine.SceneManagement;
public class SceneManagerEventsTest : MonoBehaviour
{
private void Awake()
{
SceneManager.LoadScene("Scene 1", LoadSceneMode.Additive);
SceneManager.LoadScene("Scene 2", LoadSceneMode.Additive);
SceneManager.activeSceneChanged += (s1, s2) =>
{
Debug.LogFormat("目前场景(如果已替换则为null):{0},接下场景:{1}", s1.name, s2.name);
};
SceneManager.sceneLoaded += (s, mode) =>
{
Debug.LogFormat("场景加载:{0},加载模式:{0}", s.name, mode.ToString());
};
SceneManager.sceneUnloaded += (s) =>
{
Debug.LogFormat("场景卸载:{0}", s.name);
};
}
void Start()
{
Scene scene2 = SceneManager.GetSceneByName("Scene 2");
SceneManager.SetActiveScene(scene2);
new GameObject("MyNewGameObject");
}
}
|
多场景烘焙
由于烘焙贴图和场景绑定的,那么为了保证多场景没有烘焙接缝,可以使用脚本来烘焙。
1
2
3
4
5
6
7
8
9
10
11
12
13
14
15
16
| using UnityEngine;
using UnityEditor;
public class BakeMultipleScenesTest
{
[MenuItem("Tool/BakeMultipleScenes")]
static void BakeMultipleScenes()
{
Lightmapping.BakeMultipleScenes(new string[]{
"Assets/Scenes/Scene.unity",
"Assets/Scenes/Scene 1.unity",
"Assets/Scenes/Scene 2.unity"
});
}
}
|