实例化Entity Prefab
创建Player Prefab
在“TestEntitySubScene”下新建一个空对象,命名为“PlayerSpawner”。
在Scripts文件夹中新建“PlayerSpawnerComponent”
1
2
3
4
5
6
| using Unity.Entities;
public struct PlayerSpawnerComponent : IComponentData
{
public Entity playerPrefab;
}
|
再新建“PlayerSpawnerAuthoring”
1
2
3
4
5
6
7
8
9
10
11
12
13
14
15
16
17
| using Unity.Entities;
using UnityEngine;
public class PlayerSpawnerAuthoring : MonoBehaviour
{
public GameObject playerPrefab;
}
public class PlayerSpawnerBaker : Baker<PlayerSpawnerAuthoring>
{
public override void Bake(PlayerSpawnerAuthoring authoring)
{
AddComponent(new PlayerSpawnerComponent
{
playerPrefab = GetEntity(authoring.playerPrefab),
});
}
}
|
我们将“TestEntitySubScene”中的“GameObject”重命名为“Player”,并拉取成为一个Prefab,在场景中删掉它
在PlayerSpawner上挂载PlayerSpawnerAuthoring,并将Player Prefab拖进去
创建PlayerSpawnerSystem
我们使用SystemBase来创建
1
2
3
4
5
6
7
8
9
| using Unity.Entities;
public partial class PlayerSpawnerSystem : SystemBase
{
protected override void OnUpdate()
{
}
}
|
想要高效地获取到Player Entity,我们需要给Player Entity添加一种Component,这种Component没有任何参数,它们用来标记一种Entity,称为“Tag Component”
创建“PlayerTag”和“PlayerTagAuthoring”文件
1
2
3
4
5
6
| using Unity.Entities;
public struct PlayerTag : IComponentData
{
}
|
1
2
3
4
5
6
7
8
9
10
11
12
13
14
| using Unity.Entities;
using UnityEngine;
public class PlayerTagAuthoring : MonoBehaviour
{
}
public class PlayerTagBaker : Baker<PlayerTagAuthoring>
{
public override void Bake(PlayerTagAuthoring authoring)
{
AddComponent(new PlayerTag());
}
}
|
在Project窗口中选中“Player” prefab,将PlayerTagAuthoring挂载上。
在PlayerSpawnerSystem中添加代码
1
2
3
4
5
6
7
8
9
10
11
12
13
14
15
| using Unity.Entities;
public partial class PlayerSpawnerSystem : SystemBase
{
protected override void OnUpdate()
{
EntityQuery playerEntityQuery = EntityManager.CreateEntityQuery(typeof(PlayerTag));
PlayerSpawnerComponent playerSpawnerComponent = SystemAPI.GetSingleton<PlayerSpawnerComponent>();
int playerSpawnCount = 2;
if(playerEntityQuery.CalculateEntityCount() < playerSpawnCount)
{
EntityManager.Instantiate(playerSpawnerComponent.playerPrefab);
}
}
}
|
Struct EntityManager | Entities | 1.0.0-pre.44 (unity3d.com)
Struct EntityQuery | Entities | 1.0.0-pre.44 (unity3d.com)
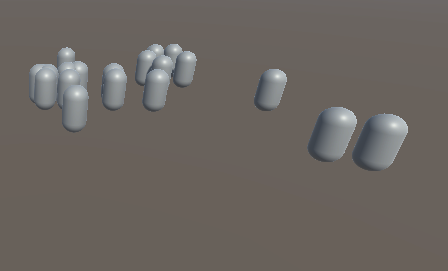
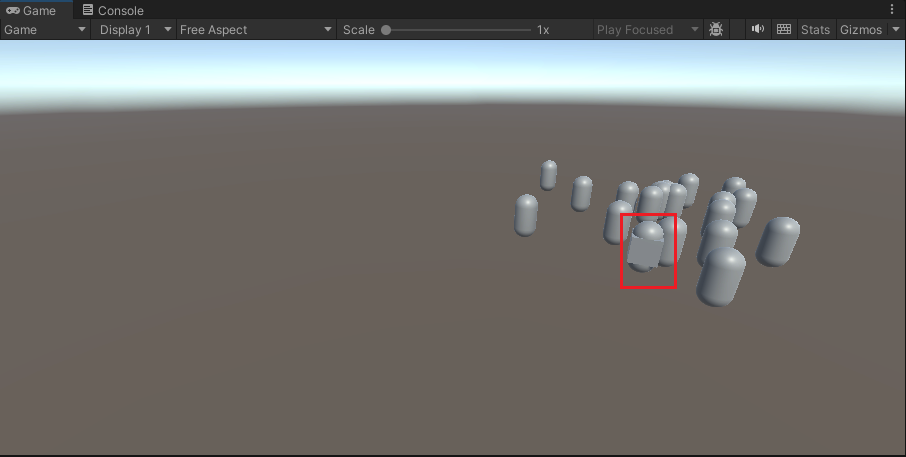
点击运行,这时会有两个Entity行动。
Entity CommandBuffer
当我们实例化或者销毁Entities的时候,或者通过增减Component来修改archetype的时候,需要注意时机,当有些System在轮询Entities的时候另一个System发生了Entity增删操作,很容易出现问题。
Structural changes concepts | Entities | 1.0.0-pre.44 (unity3d.com)
为了解决这个问题,我们需要使用Entity Command Buffer System,这个系统先将增删操作缓存起来,确保操作无害。

Class BeginSimulationEntityCommandBufferSystem | Entities | 1.0.0-pre.44 (unity3d.com)
修改PlayerSpawnerSystem,不使用EntityManager.Instantiate
1
2
3
4
5
6
7
8
9
10
11
12
13
14
15
16
17
18
19
20
21
22
23
24
| using Unity.Entities;
public partial class PlayerSpawnerSystem : SystemBase
{
protected override void OnUpdate()
{
EntityQuery playerEntityQuery = EntityManager.CreateEntityQuery(typeof(PlayerTag));
PlayerSpawnerComponent playerSpawnerComponent = SystemAPI.GetSingleton<PlayerSpawnerComponent>();
RefRW<RandomComponent> randomComponent = SystemAPI.GetSingletonRW<RandomComponent>();
EntityCommandBuffer entityCommandBuffer = SystemAPI.GetSingleton<BeginSimulationEntityCommandBufferSystem.Singleton>().CreateCommandBuffer(World.Unmanaged);
int playerSpawnCount = 20;
if(playerEntityQuery.CalculateEntityCount() < playerSpawnCount)
{
Entity spawnedEntity = entityCommandBuffer.Instantiate(playerSpawnerComponent.playerPrefab);
entityCommandBuffer.SetComponent(spawnedEntity,new Speed
{
value = randomComponent.ValueRW.random.NextFloat(1f, 5f)
});
}
}
}
|
World concepts | Entities | 1.0.0-pre.44 (unity3d.com)
Class World | Entities | 1.0.0-pre.44 (unity3d.com)
GameObject引用Entity
我们不在Entity SubScene,而是在正常的Scene里面创建一个3D-Cube,去除Box Collider
在Scripts窗口中新建PlayerVisual脚本:
1
2
3
4
5
6
7
8
9
10
11
12
13
14
15
16
17
18
19
20
21
22
23
24
25
26
27
28
29
30
31
32
33
34
35
36
37
| using Unity.Entities;
using UnityEngine;
using Unity.Collections;
using Unity.Transforms;
public class PlayerVisual : MonoBehaviour
{
private Entity targetEntity;
private void LateUpdate()
{
if(Input.GetKeyDown(KeyCode.Space)) { targetEntity = GetRandomEntity(); }
if (targetEntity != Entity.Null)
{
Vector3 followPosition = World.DefaultGameObjectInjectionWorld.EntityManager.GetComponentData<LocalToWorld>(targetEntity).Position;
transform.position = followPosition;
}
}
private Entity GetRandomEntity() {
EntityQuery playerTagEntityQuery = World.DefaultGameObjectInjectionWorld.EntityManager.CreateEntityQuery(typeof(PlayerTag));
NativeArray<Entity> entityNativeArray = playerTagEntityQuery.ToEntityArray(Unity.Collections.Allocator.Temp);
if (entityNativeArray.Length > 0)
{
return entityNativeArray[Random.Range(0, entityNativeArray.Length)];
}
else
{
return Entity.Null;
}
}
}
|
进入运行模式,按下Space。
其他参考:
Unity-Technologies/EntityComponentSystemSamples (github.com)
Entities overview | Entities | 1.0.0-pre.44 (unity3d.com)
Unity ECS 1.0 Full Project Tutorial | Step-by-Step 🧟♂️ - YouTube


